A step-by-step guide to maximizing kitchen storage
Date published
November 8, 2023

Have you ever opened your pantry door or kitchen cabinet only for a mountain of containers, lids and reusable water bottles to come crashing down? Learn how to conquer your kitchen cabinets for good by following these simple steps:
Step 1: empty everything
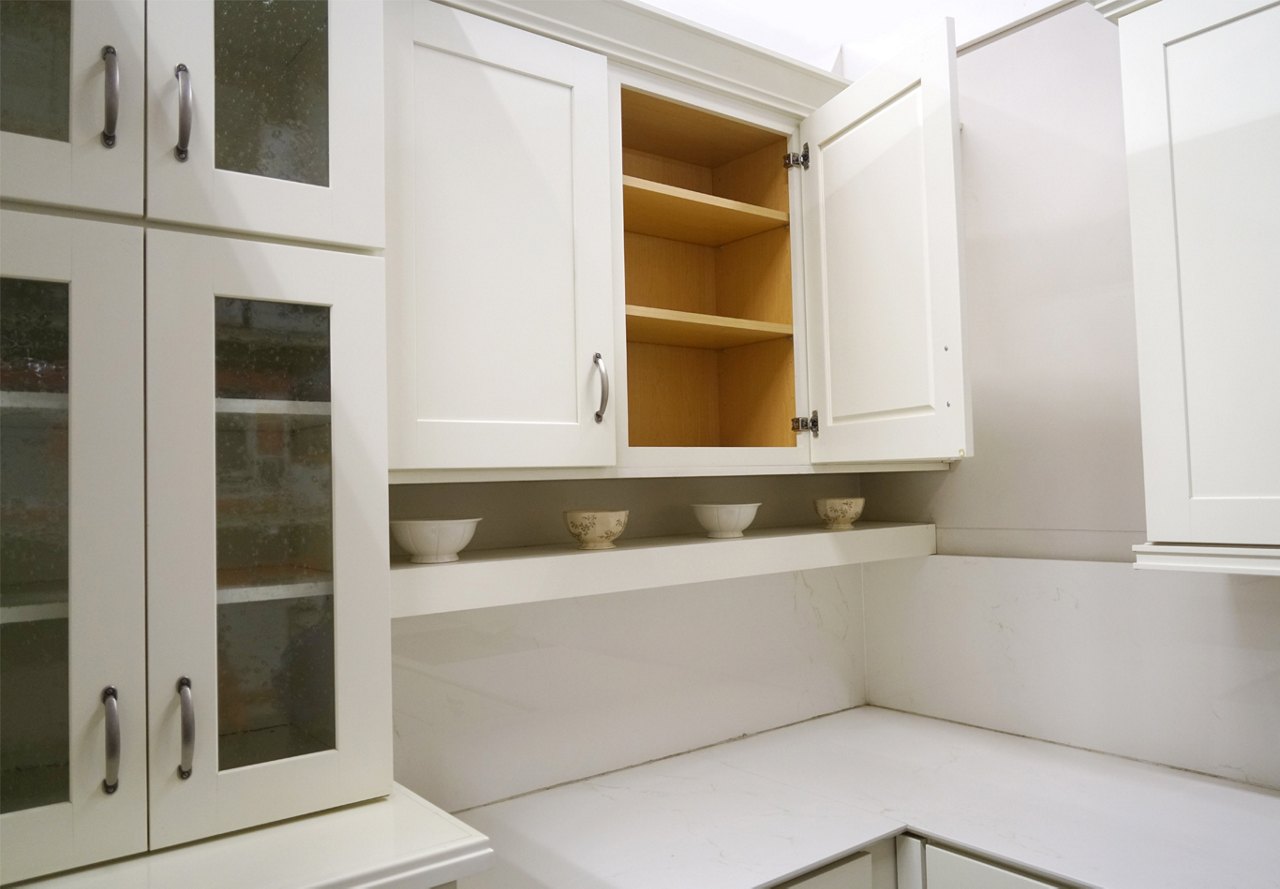
Before you begin, you’ll need to start fresh for the best results. Empty everything, yes – everything, including all those crumbs, from each cabinet, pantry and drawer in your kitchen. As you go, organize your belongings into piles. For example: spices, cooking tools, expired ingredients, food that will soon be expired, kitchen gadgets you haven’t used in months, all of your Tupperware and anything else that may live in your kitchen. Once everything is out, throw out any expired food and set aside any products that need to be donated or given away.
Step 2: clean all surfaces

You’re now ready to use a cleaning solution to wipe down every surface, including the front and back of all cabinet doors, drawer handles, shelves and even the bottom of shelves. Before you begin, ensure your cleaning products are safe for your kitchen cabinets and counter-tops, as some can leave stains or remove paint. Tip: Use a mixture of baking soda and water to form a paste. Then, use an old toothbrush and the mixture to scrub into the hard-to-get corners of drawers and cabinets.
Once you’re done cleaning, use a fresh towel to make sure everything is dry – especially any places you will be storing your food. For an added twist, consider adding removable, temporary wallpaper or contact paper to decorate the inside of your kitchen cabinets, shelves and drawers.
Step 3: get organized
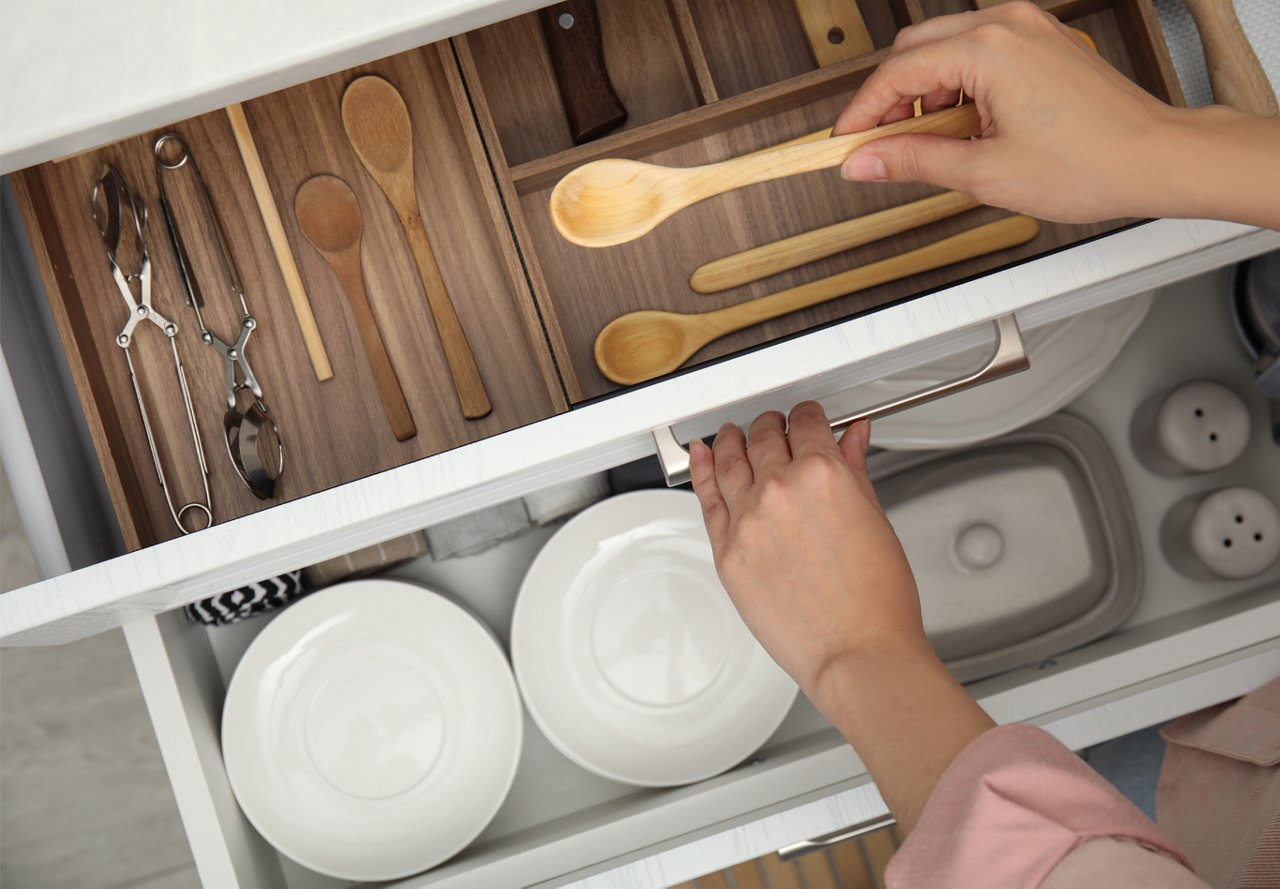
Your kitchen is just that – yours. Organize your belongings to match how you cook, get around and use your kitchen appliances. Do you only use that air fryer once a month? Consider placing it in the far back corner of a cabinet, or on a higher shelf, so your most-used items are easiest to reach. Keep everyday dishes, cups and utensils in the most accessible cabinets and drawers near your sink or stove for convenience.
Group similar items together — baking supplies in one area, spices in another, and snacks somewhere easy to grab. Clear bins, stackable containers and drawer dividers can help keep everything organized and visible so you’re not digging through clutter every time you need something.
Step 4: maximize vertical and hidden space
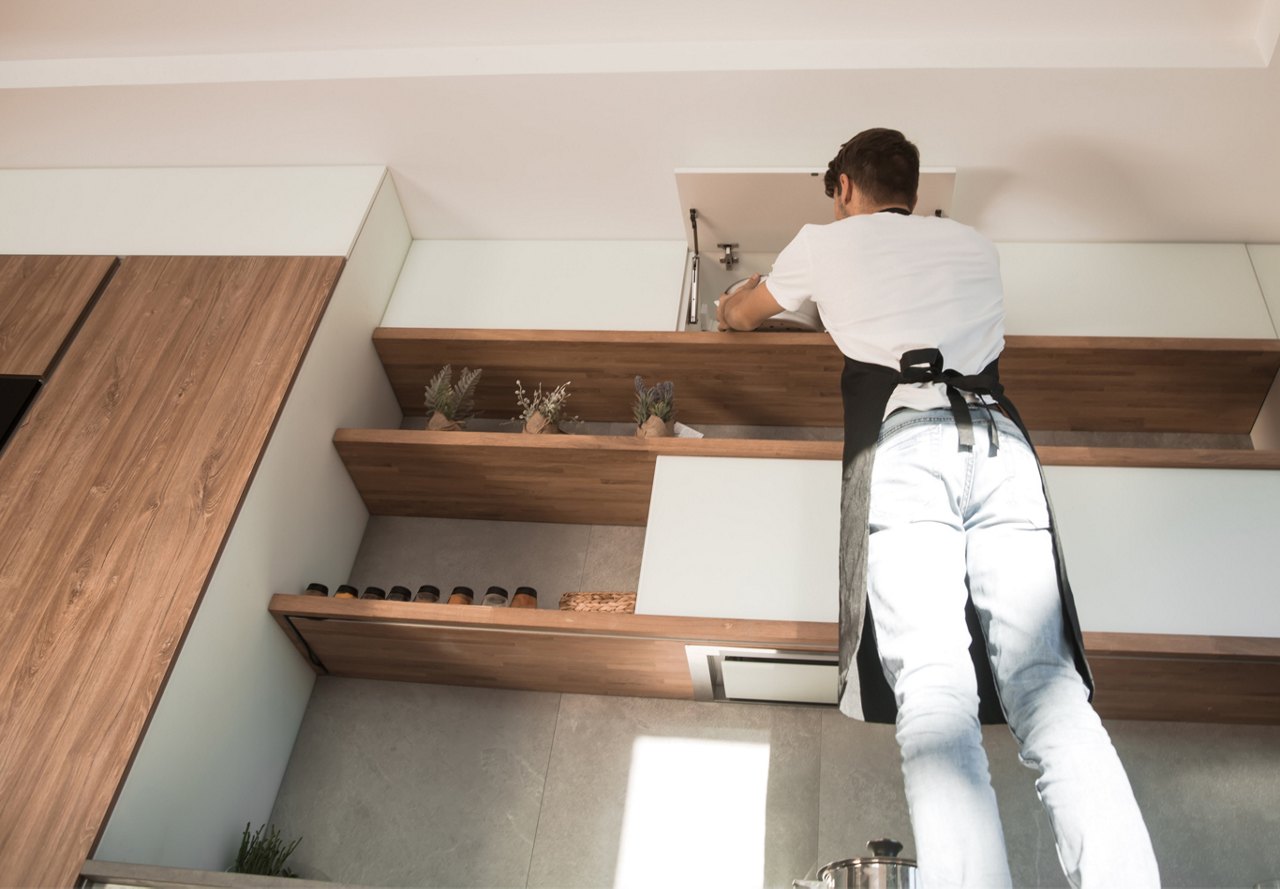
Once everything is sorted, take a look at any unused vertical space. Adding stackable shelves inside cabinets can double your storage capacity, especially for plates, bowls or canned goods. Use the inside of cabinet doors for hanging small items like measuring cups, cutting boards or spice racks with adhesive hooks or racks.
Don’t forget about the space above your cabinets or below your sink — these areas are often overlooked but can be great for storing items you use less frequently, like large serving trays or extra cleaning supplies.
Step 5: maintain the system
Once your kitchen is fully organized, the key is maintaining it. Make it a habit to put things back in their designated spots after use, and periodically reassess your system as your needs change. A quick tidy-up every few weeks can help prevent clutter from building back up.
With a little effort and the right storage tools, you can maximize your kitchen space and keep it functional and organized for the long haul.
The information presented on or through this Website is made available solely for general information purposes. We do not warrant the accuracy, completeness, or usefulness of this information. Any reliance you place on such information is strictly at your own risk. We disclaim all liability and responsibility arising from any reliance placed on such materials by you or any other visitor to this Website, or by anyone who may be informed of any of its contents. Any reference to amenities, services, rules, policies, or procedures at a Greystar apartment community is general in nature, and each Greystar apartment community may have amenities, services, rules, policies, and procedures that differ from those referenced on this Website. Please consult with your Greystar apartment community for the exact amenities, services, rules, policies, or procedures applicable.
This Website may include content provided by third parties, including materials provided by other users, bloggers, and third-party licensors, syndicators, aggregators, and/or reporting services. All statements and/or opinions expressed in these materials, and all articles and responses to questions and other content, other than the content provided by Greystar, are solely the opinions and the responsibility of the person or entity providing those materials. These materials do not necessarily reflect the opinion of Greystar. We are not responsible, or liable to you or any third party, for the content or accuracy of any materials provided by any third parties. The information contained within does not relate to Greystar Investment Group, LLC’s investment advisory business.
Related posts


More on life at a Greystar community
View all articles