Freshen Up Your Space with Spring Cleaning Ideas
Temperatures across the country might be rising – especially for our residents in Columbia, South Carolina, Greater San Antonio and Phoenix – but there’s still more than a month until spring is officially over! That’s right – the 2015 summer solstice isn’t until June 21, which means you still have plenty of time to revamp your apartment with a healthy dose of spring cleaning. We’re sure that you have simple tasks like vacuuming and dusting under control, so we’ve decided to put together a list of apartment cleaning tips for tasks that you might be less familiar with.
We know it’s important for your future home to be spotless and beautiful upon move-in. That’s why our knowledgeable staff fully inspects all fire safety equipment, HVAC systems, appliances, carpets, walls and locks prior to your arrival date. When it comes time for you to move out, we ask that you make sure to tidy all floors, counters, appliances, bathrooms and balconies or patios. Be sure to clean any walls that might have gotten marked up as well.
So, without further ado, turn on some music, grab some cleaning supplies (or make your own!) and get ready to give your home a floor-to-ceiling makeover you’ll want to show off all summer long.
1. Give your doorknobs, deadbolts, drawer handles and light switch plates a good wipe-down. Antibacterial wipes are a solid option – especially if one of your roommates or family members has recently been sick – but there are a variety of more natural solutions as well. Our favorite? Fill a spray bottle with distilled white vinegar, spray the surface you want to disinfect and wipe with a clean cloth. Bonus: This is an easy chore for kids to take care of all by themselves!
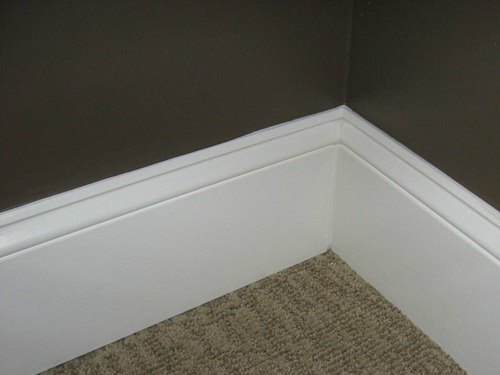
2. Make your baseboards look brand-new. There are a lot of methods for cleaning baseboards, but we’ve found an option that’s both effective and pretty darn easy. Get a package or two of Magic Erasers (or another brand of cleaning pads) and a bucket of warm soapy water. Dunk the pad, wring it out and swipe away. Be sure to get most of the moisture out of the pad prior to cleaning your baseboards – this way, they can dry quickly without re-accumulating any dust or grime!
3. Go to town on your kitchen cabinets. Just be sure to modify your cleaning method based on the material of your cabinets. We recommend testing a small, inconspicuous area of your cabinets prior to going gung-ho on the whole kitchen – just in case the cleaning agent you’ve chosen isn’t the right one. Please check with your community manager if you have any questions about the right type of cleaner.
- Wood cabinets: Mix an oil-soap wood cleaner (like Murphy Oil Soap) with water and apply to the surface of your cabinets – check the label for precise instructions. Wipe clean with a fresh cloth or towel and voilà! All done.
- Painted cabinets: All-purpose cleaner mixed with warm water should do the trick for painted cabinets. If you need to take care of a tough stain, try treating the affected area with baking soda and water – just don’t scrub too aggressively, or you might cause scratching.
4. Wipe down dusty ceiling fan blades. First, throw on a baseball cap and spread some old sheets on the floor and on any furniture underneath your fan. This will prevent dirt from getting all over your apartment – or worse, in your eyes. Fill a spray bottle with water and a couple tablespoons of distilled white vinegar, and spritz the inside of an old pillowcase with the mixture (this will help attract dust). Stand on a stepladder and slip the pillowcase over each fan blade, drawing it back to trap dust. Genius.
5. Banish microorganisms from your microwave. Fill a microwaveable bowl with a cup or two of water and a tablespoon or two of distilled white vinegar. Don’t fill it all the way to the top – you don’t want to risk spills. Add a drop of lemon essential oil if you’re a fan of fresh citrusy scents. Throw a toothpick in the bowl (this will prevent the water from overheating) and microwave for five minutes. After the timer goes off, wait a couple of minutes so your microwave can continue to steam-clean. Using oven mitts, carefully remove the bowl and wipe down the microwave with a sponge or paper towel. Good as new!
And there you have it! You’re ready to host the dinner party, movie marathon or game night of the century. Or you can finally invite that special someone over for a romantic home-cooked meal. Whatever your upcoming plans may be, your fresher-than-ever apartment is sure to be the perfect backdrop.
Interested in more apartment cleaning and organizing tips? Check out our blog post on green cleaning advice.


